Have you ever bitten into a warm, fluffy pita pocket that’s perfectly puffed and ready to cradle your favorite fillings? It’s that magical moment when the bread opens up like a hug, making every meal feel fresh and exciting. I remember the first time I mastered homemade pita pockets in my own kitchen—it transformed busy weeknights into something special, without hours of fuss.
Table of Contents
What makes this pita pocket recipe stand out is its simplicity and reliability. Using basic pantry staples, you get soft, pocket-forming breads that rival any bakery. Ideal for lunches, picnics, or casual dinners, these pitas are versatile for stuffing with grilled chicken, crisp veggies, or creamy dips. No special skills needed—just mix, rest, and bake for that signature steam pocket.
This recipe yields eight golden pitas, each one light and chewy with a hint of olive oil richness. They’re perfect for meal prep too, staying fresh for days. Whether you’re new to bread-making or a seasoned home cook, these greek pita pockets style breads will become your go-to. Imagine the aroma filling your home as they puff in the oven—pure joy in every bite.
Pair them with Mediterranean-inspired fillings like tzatziki, feta, and tomatoes for an effortless feast. The best part? They’re ready in under two hours, including rise time, proving that delicious doesn’t have to be complicated. Dive in and discover why homemade pita pockets elevate everyday eating.
Ingredients for Mediterranean Pita Pocket
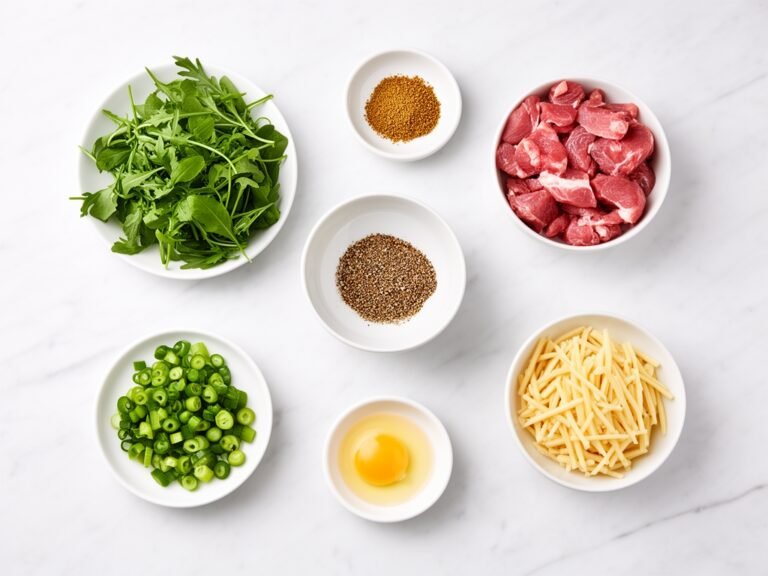
Choosing the right ingredients is key to achieving that perfect pita pocket texture—soft inside, slightly crisp outside, with a reliable steam pocket. Bread flour provides the high protein needed for structure and puffing, while instant yeast ensures quick activation without proofing hassles. Lukewarm water and olive oil keep the dough hydrated and tender.
These selections draw from time-tested methods, blending all-purpose flour for lightness and a touch of whole wheat for subtle nutty flavor if desired. Salt enhances taste, and a hint of sugar feeds the yeast for optimal rise. Freshness matters—use new yeast and quality oil for the best results in your pita pocket creation.
#### For the Dough (makes 8 pita pockets):
– 3 cups (420g) bread flour (or 2½ cups all-purpose flour + ½ cup whole wheat flour for added depth)
– 1½ tsp kosher salt
– 2¼ tsp instant yeast (1 standard packet)
– 1¼ cups lukewarm water (about 100-110°F)
– 1½ tbsp olive oil, plus extra for brushing
#### For the Seasoned Butter Brush (optional, for extra flavor):
– ¼ cup unsalted butter, softened
– 1 tsp ground paprika
– 1 tsp fresh minced thyme
– ½ tsp fresh minced rosemary
– 1 garlic clove, grated
– ¼ tsp ground turmeric
– 1 tsp salt
– ½ tsp black pepper
Substitution notes: Swap bread flour with all-purpose if that’s all you have, but expect slightly less chew. For dairy-free, use plant-based butter in the brush. No fresh herbs? Dried work fine—use half the amount. Shopping tip: Check yeast expiration and store flour in airtight containers to prevent staleness.
Equipment Needed
A few essential tools make crafting this pita pocket foolproof. A large mixing bowl holds the dough comfortably for kneading, while a digital scale ensures precise measurements—crucial for consistent rises. Parchment-lined baking sheets prevent sticking and promote even puffing in the hot oven.
Don’t overlook the rolling pin for uniform thickness (about ¼-inch) and a clean tea towel for covering during rests, trapping warmth without drying the dough. A stand mixer with dough hook speeds things up for beginners, but hands work beautifully too.
– Large mixing bowl
– Wooden spoon or spatula
– Digital kitchen scale (optional but recommended)
– Clean work surface or cutting board
– Rolling pin
– Sharp knife or bench scraper
– 2-3 parchment-lined baking sheets
– Tea towel or plastic wrap
– Pastry brush (for butter)
– Oven mitts
Prep Time & Cook Time
Prep Time: 20 minutes
Cook Time: 4-5 minutes per batch
Rise Time: 1 hour 30 minutes
Total Time: About 2 hours
Servings: 8 pita pockets
Difficulty: Easy
Timing is everything for fluffy pita pockets—rush the rise, and they won’t puff. Start yeast in lukewarm water (test on your wrist; it should feel warm, not hot). Allow full 30-minute rests between steps for steam pockets to form reliably. Bake in batches to maintain oven heat at 500°F for quick, high puffs.
Step-by-Step Instructions for Greek Pita Pockets
Mastering greek pita pockets starts with a simple dough that relies on steam for its signature pocket. High heat is key—preheat your oven fully with a baking stone if possible for bakery results. This method yields soft, pocket-perfect breads ready for any filling.
Work in a warm kitchen to aid rising. Detailed steps ensure success even for novices, with tips to troubleshoot common issues like flat pitas.
1. In a large mixing bowl, whisk together 3 cups bread flour, 1½ tsp kosher salt, and 2¼ tsp instant yeast until evenly combined. This dry mix ensures yeast distributes well for uniform rising in your pita pocket dough[1][2].
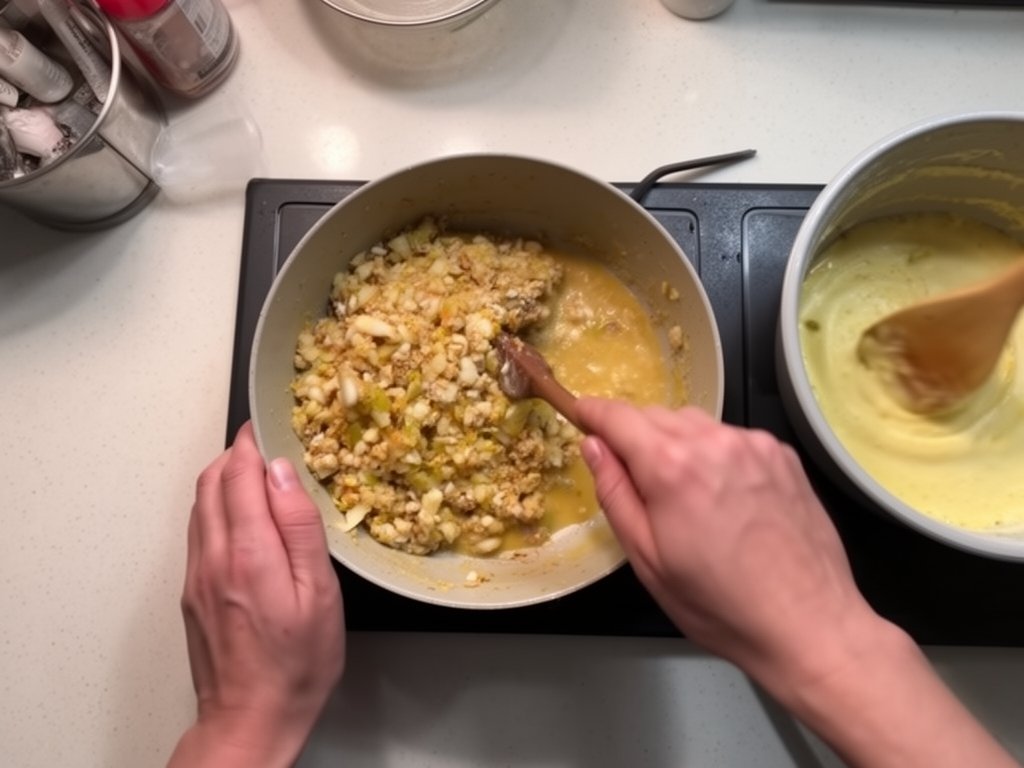
2. Pour in 1¼ cups lukewarm water and 1½ tbsp olive oil. Stir with a wooden spoon until a shaggy dough forms—about 1-2 minutes. It will look uneven; that’s normal. Avoid adding extra flour yet to keep hydration high for puffing[1][6].
3. Knead the dough in the bowl with your hands for 2-3 minutes until smooth and all flour is absorbed. It should be slightly sticky but hold together. If too wet, add 1 tbsp flour. Cover with a tea towel and let rise in a warm spot for 1 hour, until doubled—this builds the gluten for perfect pita pocket structure[1][8].
4. While dough rises, prepare seasoned butter: Mix ¼ cup softened butter with 1 tsp paprika, 1 tsp minced thyme, ½ tsp minced rosemary, 1 grated garlic clove, ¼ tsp turmeric, 1 tsp salt, and ½ tsp pepper. Set aside. This adds Mediterranean flair post-bake[1].
5. Punch down risen dough gently on a lightly floured surface. Divide into 9 equal pieces (about 80g each) using a knife. High accuracy here prevents uneven baking in greek pita pockets[2][7].
6. Roll each piece into a tight ball, tucking edges under. Place on parchment-lined baking sheets, 3-4 per sheet. Cover with a tea towel and rest 30 minutes. Balls should puff slightly, prepping steam pockets[1][2].
7. Preheat oven to 500°F (or as hot as it goes) with racks in upper and lower thirds. If using a stone, preheat 45 minutes. Hot oven creates instant steam for the pita pocket to balloon[8][9].
8. On a floured surface, roll each ball into a 6-7 inch circle, about ¼-inch thick. Roll from center out evenly to avoid dense centers. Keep others covered to prevent drying[6][8].
9. Place rolled pitas on parchment sheets. Bake 4-5 minutes until fully puffed and pale golden—no need to flip. They puff dramatically in 1-2 minutes if oven is hot enough. Watch closely to avoid over-browning[2][9].
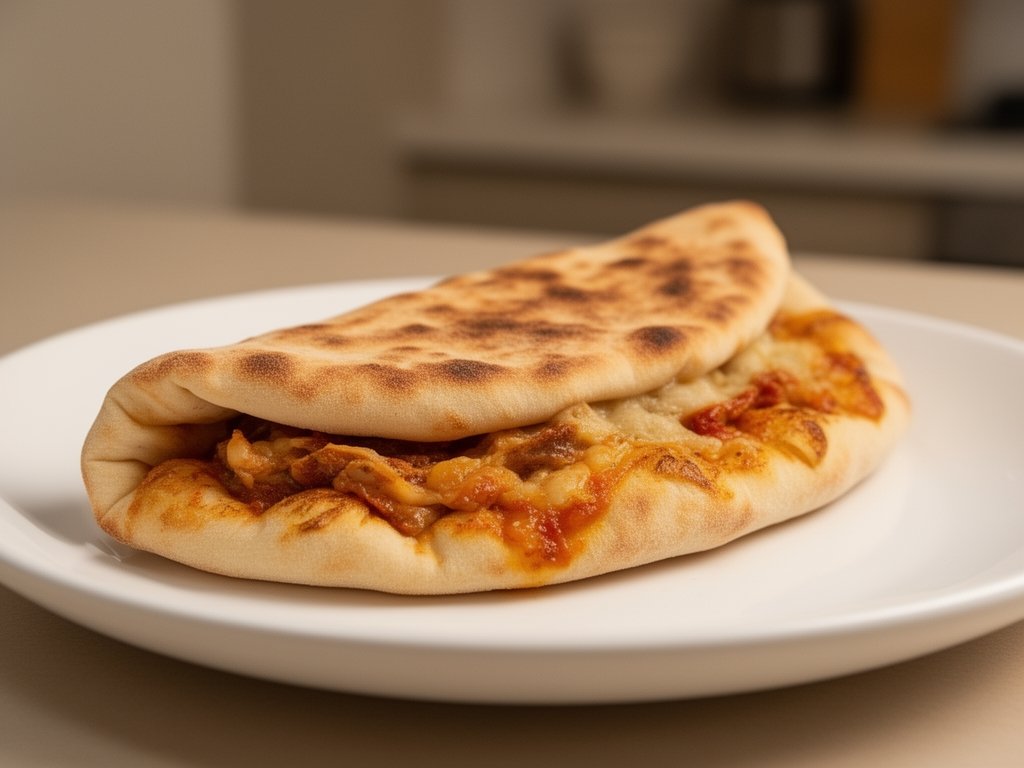
10. Remove from oven and immediately brush with seasoned butter while hot—this soaks in for flavor. Stack under a clean towel to steam-soften. Cool slightly before slicing open your fluffy greek pita pockets[1].
11. For stovetop option, heat a cast-iron skillet over high. Cook 2-3 minutes per side until puffed. Brush and rest as above. Slice one side to check pocket formation[8].
12. Serve warm or cool completely. Store extras airtight. These homemade beauties hold fillings without tearing[2].
Nutritional Information
This pita pocket recipe shines nutritionally, offering complex carbs from flour for sustained energy. Whole wheat swaps boost fiber, aiding digestion and fullness. Yeast provides B vitamins for metabolism, while olive oil adds heart-healthy monounsaturated fats.
Per serving (1 pita), you’ll get balanced macros without excess calories. Protein from flour and optional butter supports muscle repair. Low in sugar, it’s a smart carb choice for active days.
Veggies in fillings amplify vitamins A, C, and K from implied pairings like tomatoes and cucumbers. Potassium from water-activated dough helps hydration. Antioxidants in herbs like thyme fight inflammation naturally.
Estimated values per serving (1 plain pita, with butter brush):
– Calories: 220
– Protein: 6g
– Carbs: 35g (3g fiber)
– Fat: 7g
– Sodium: 450mg
– Key micros: Iron (10% DV), B vitamins
These pitas fit well into wholesome meals, especially stuffed healthily.
Serving Suggestions & Variations
Stuff your pita pocket with grilled chicken, diced cucumbers, cherry tomatoes, and feta for a classic gyro vibe. Drizzle tzatziki for creaminess—pairs perfectly with a side Greek salad of olives and onions.
For summer, try veggie-packed versions: hummus, roasted eggplant, bell peppers, and fresh basil. Serve with yogurt dip and tabbouleh for a light picnic spread. These greek pita pockets shine chilled.
Winter calls for warm fillings like lamb meatballs, spinach, and yogurt sauce. Bake pitas briefly to reheat. Pair with roasted root veggies or lentil soup for cozy balance.
Swap cooking: Grill dough lightly for smoky char, or air-fry at 400°F for 5 minutes. Ingredient twists include adding sesame seeds pre-bake or using spelt flour for nuttier taste. Endless options keep it fresh.
Expert Tips & Tricks for Perfect Pita Pockets
Unlock pro-level results with these insights for your pita pocket. Focus on hydration and heat—dough should feel tacky, not dry, for steam magic.
1. Measure flour by weight (420g) for precision; scooping packs too much, leading to tough pitas. Use a scale every time—it’s a game-changer for consistent pita pocket puffs[6].
2. Test water temp on your wrist: Warm like a baby bottle ensures yeast thrives without killing it. Too hot (over 115°F) halts rising; too cool slows it unnecessarily[8][9].
3. Knead minimally—just until smooth—to develop gluten without toughness. Overworking deflates steam pockets. Let the rest do the work for tender greek pita pockets[1].
4. Preheat thoroughly: 30-45 minutes at max temp mimics commercial ovens. Add a pizza stone for even heat distribution and superior puffing every batch[2].
5. Roll thin and even (¼-inch): Thicker centers stay dense. Use gentle pressure outward from center, rotating dough. Dust minimally to avoid dense spots[6].
6. Rest rolled pitas 10 minutes before baking—relaxes gluten for bigger pockets. Cover to prevent skinning, which blocks steam escape[1][2].
7. Brush immediately post-bake: Hot pitas absorb butter flavors deeply. Skip for plain; add za’atar for herby twist on your pita pocket[1].
8. Bake in batches: Overcrowding drops oven temp, flattening dough. Rotate sheets midway for golden perfection[2].
9. Freeze dough balls pre-roll: Thaw overnight, then proceed. Great for fresh pitas anytime without full prep[2].
Common Mistakes to Avoid
Over-flouring dough kills hydration, resulting in flat, hard pitas. Solution: Stick to recipe amounts; embrace slight stickiness and dust hands/surface only. This keeps steam high for proper pita pocket formation.
Insufficient preheat leads to no puff—dough steams slowly, collapsing. Always hit 500°F; use oven thermometer. Test with one pita first to confirm heat.
Rolling unevenly creates dense lumps. Roll from center evenly, aiming for 6-inch uniform circles. Practice on extras; thickness is key for greek pita pockets.
Skipping rests shortens rise, yielding small pockets. Allow full 1-hour first rise and 30-minute second. Warm spot accelerates without rushing.
Overbaking dries them out. Pull at first golden hue, 4 minutes max. Towel-stack keeps softness. Undercook, and they stay raw inside.
Ignoring yeast freshness causes failure to rise. Proof in water first: Bubbly in 5 minutes? Good. Replace old packets promptly.
Crowding oven trays drops temp. Space 3-4 per sheet; bake sequentially for reliable puffs in every pita pocket.
Storage & Reheating Instructions
Fresh pita pocket lasts 2-3 days at room temp in an airtight bag—stacked under towel prevents drying. Ideal for quick grabs; revive in toaster for crispness.
Refrigerate up to 5 days wrapped tightly. Moisture from fridge softens them nicely; avoid loose storage to prevent staleness.
Freezer shines: Cool fully, wrap individually in plastic, then foil or freezer bag. Up to 3 months without quality loss. Thaw overnight in fridge for pita pocket perfection.
Reheat oven-style: 350°F for 5 minutes on sheet, wrapped in foil. Retains fluffiness. Microwave 20 seconds dampened with water spray—steam refreshes.
Skillet method: Medium heat, 1-2 minutes per side, tented foil. Toaster oven works too. Always reheat before stuffing to avoid sogginess.
Food safety: Discard if moldy or off-smelling. Freeze extras immediately post-cool. Label bags with dates for easy tracking.
Conclusion
This pita pocket recipe delivers bakery magic at home—soft, pocketed breads ready for your creativity. From simple dough to puffed perfection, it’s rewarding and versatile for any meal.
Embrace the process; soon, homemade greek pita pockets will be your staple. Stuff boldly, share generously—what’s your favorite filling?
Try it this week and tag your creations. Happy baking; your kitchen adventures await!
FAQs
Can I make pita pocket dough ahead?
Yes! Prepare dough, divide into balls, and refrigerate covered up to 24 hours. Let warm 30 minutes before rolling. Slow cold rise enhances flavor for even better pita pocket texture. Or freeze balls up to 3 months.
Why didn’t my greek pita pockets puff?
Likely low oven heat or dry dough. Ensure 500°F preheat and exact hydration—no extra flour. Yeast must bubble first. Next batch will balloon perfectly with these checks[9].
What fillings pair best with pita pockets?
Grilled chicken, hummus, feta, cucumbers, tomatoes, and tzatziki shine. Add olives or roasted veggies for greek pita pockets flair. Keep moist fillings central to avoid sogginess.
Can I use all-purpose flour only?
Absolutely—3½ cups works fine, though bread flour puffs higher. Add 1 tsp vital wheat gluten if available for chew. Results stay deliciously soft.
How do I reheat frozen pita pockets?
Thaw in fridge, then oven at 350°F for 5 minutes or skillet-dry. Microwave briefly with damp paper towel. Revives fluff like fresh from the oven.
Are these pitas gluten-free adaptable?
Use a 1:1 gluten-free flour blend with xanthan gum. Add extra water; expect less puff. Test small batch for your pita pocket needs.
How many servings from one batch?
Eight standard 6-inch pitas, perfect for 4 hearty sandwiches. Scale dough by 1.5x for crowds—rise times stay similar.
Can I add whole wheat to pita pocket recipe?
Yes, sub up to 1 cup for nutty taste and fiber. Increase water slightly; dough needs more hydration. Bake same way for wholesome greek pita pockets[8].
What’s the shelf life after stuffing?
Eat same day for best crunch. Refrigerate stuffed up to 2 days; reheat gently. Loose fillings extend pita pocket life.
Vegan version of this pita pocket?
Skip butter brush or use oil with herbs. Rest is naturally vegan—stuff with plants for complete meals[7].