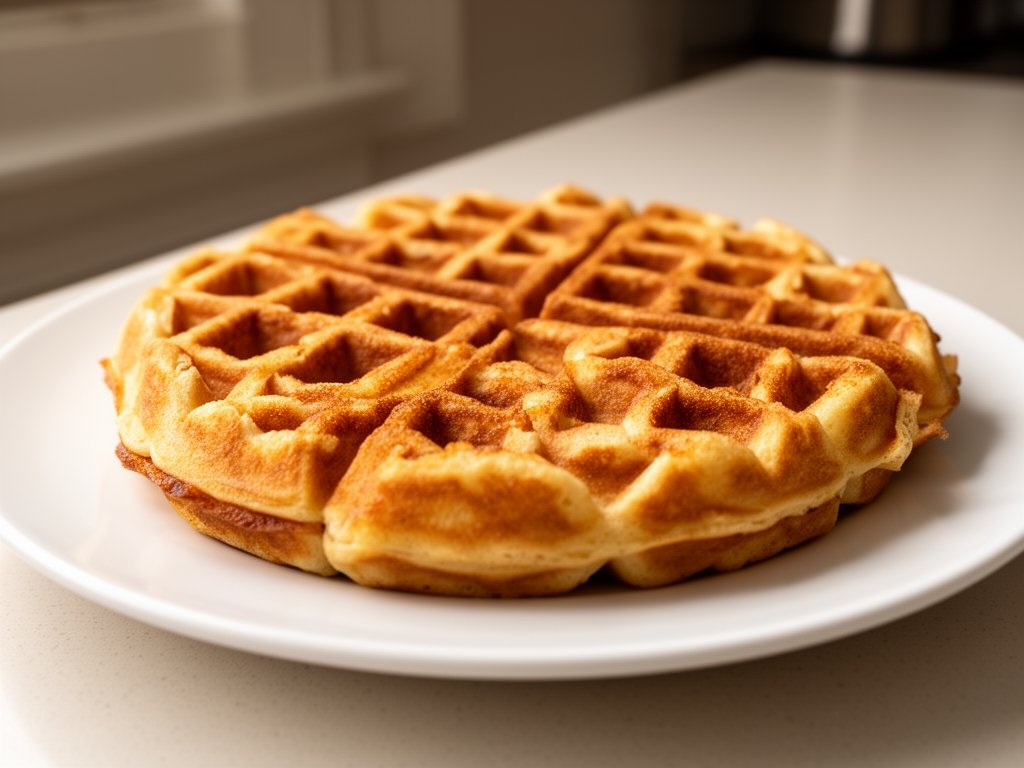
Have you ever bitten into a waffles so perfectly crispy on the outside yet fluffy and tender inside that it stops you in your tracks? That’s the magic we’re recreating right here in your kitchen. These crispy waffles are my go-to weekend treat, born from countless mornings experimenting to nail that irresistible crunch without any fuss.
Table of Contents
What sets these waffles apart is the clever combo of cornstarch for extra crispiness and a rest period for the batter that lets the flavors meld. They’re not just any waffle—they’re the kind that make breakfast feel like a celebration, perfect for lazy Sundays, brunches with friends, or even quick weeknight desserts. Simple ingredients you likely have on hand transform into golden perfection.
Imagine stacking them high with fresh berries and a dollop of yogurt, or drizzling warm maple syrup for that cozy comfort. These waffles are forgiving for beginners yet yield pro-level results every time. No special skills needed—just a hot waffle iron and a bit of patience. If you’re craving that cafe-quality bite at home, this recipe delivers big time.
I’ve tweaked classics like Belgian waffles techniques but kept it straightforward for everyday cooks. The result? Waffles that stay crisp longer, even under toppings. Whether you’re feeding a family or treating yourself, these will become your new favorite. Let’s dive in and get that waffle iron preheated—you’re minutes away from bliss.
Ingredients for Crispy Waffles
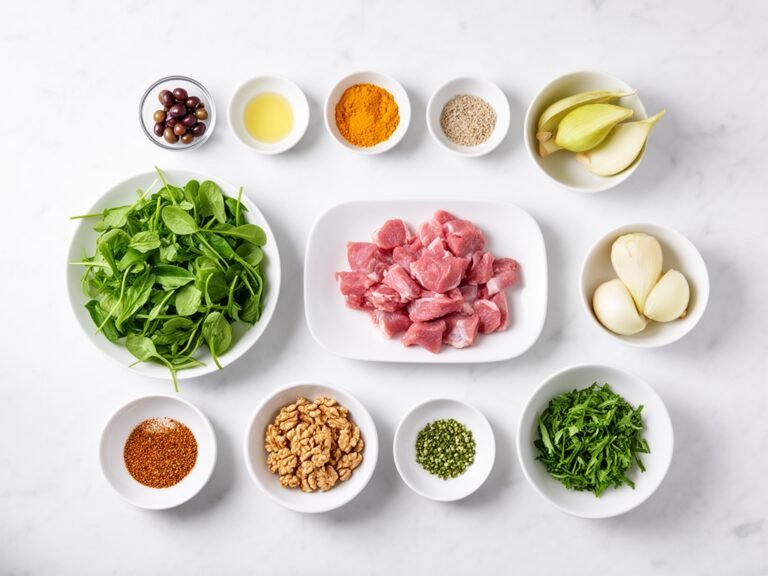
Choosing the right ingredients is key to achieving those standout crispy waffles. Cornstarch is the secret weapon here—it creates that shatteringly crisp exterior without toughness. Paired with all-purpose flour, it balances tenderness inside. Whole milk adds richness, while a touch of sugar caramelizes beautifully on the iron.
These components work in harmony: baking powder and soda ensure lift, eggs provide structure, and melted butter brings golden flavor. Vegetable oil keeps things moist without greasiness. No buttermilk? No problem—this version uses everyday staples for foolproof results. Freshness matters—use room-temperature ingredients for even mixing.
Shopping tip: Grab cornstarch if your pantry’s light on it; it’s a game-changer for crispy textures in baked goods. Opt for unsalted butter to control salt levels. Eggs should be large and fresh for best rise.
Dry Ingredients:
– 2 cups all-purpose flour
– 1/2 cup cornstarch
– 3 tablespoons granulated sugar
– 1 tablespoon baking powder
– 1/2 teaspoon baking soda
– 1/2 teaspoon kosher salt
Wet Ingredients:
– 2 cups whole milk (room temperature)
– 1/3 cup vegetable oil
– 1/4 cup unsalted butter, melted and slightly cooled
– 2 large eggs, separated (yolks and whites)
– 1 teaspoon vanilla extract
Substitution Notes: Swap whole milk for 2% if needed, but avoid skim for best texture. Use coconut oil for vegetable oil in a pinch. Gluten-free flour blend works 1:1 with added xanthan gum. For egg-free, try flax eggs (1 tbsp ground flax + 3 tbsp water per egg).
Equipment Needed
A reliable waffle iron is non-negotiable for crispy waffles—it distributes heat evenly for that perfect golden crust. Preheat it to high for maximum crisp. Mixing bowls separate dry and wet for lump-free batter. A whisk aerates eggs, while a spatula gently folds without deflating.
Hand mixer or whisk beats egg whites to stiff peaks, adding airiness. Measuring cups and spoons ensure precision—baking is science! Pastry brush applies butter to plates, preventing sticking.
Essential Tools:
– Waffle iron (Belgian-style optional for deeper pockets)
– Large mixing bowls (2-3)
– Whisk and wooden spoon
– Hand mixer or stand mixer
– Measuring cups and spoons
– Rubber spatula
– Pastry brush
– Cooling rack
Prep Time & Cook Time
Prep Time: 15 minutes
Cook Time: 20 minutes
Total Time: 45 minutes (includes 30-minute batter rest)
Servings: 6-8 waffles
Difficulty: Easy
Timing is everything for tender, crispy waffles. The 30-minute rest thickens the batter, relaxing gluten for fluffiness. Prep quickly by measuring ahead. Cooking takes 4-6 minutes per batch—watch for steam to stop. This schedule fits busy mornings perfectly.
Step-by-Step Instructions for Perfect Crispy Waffles
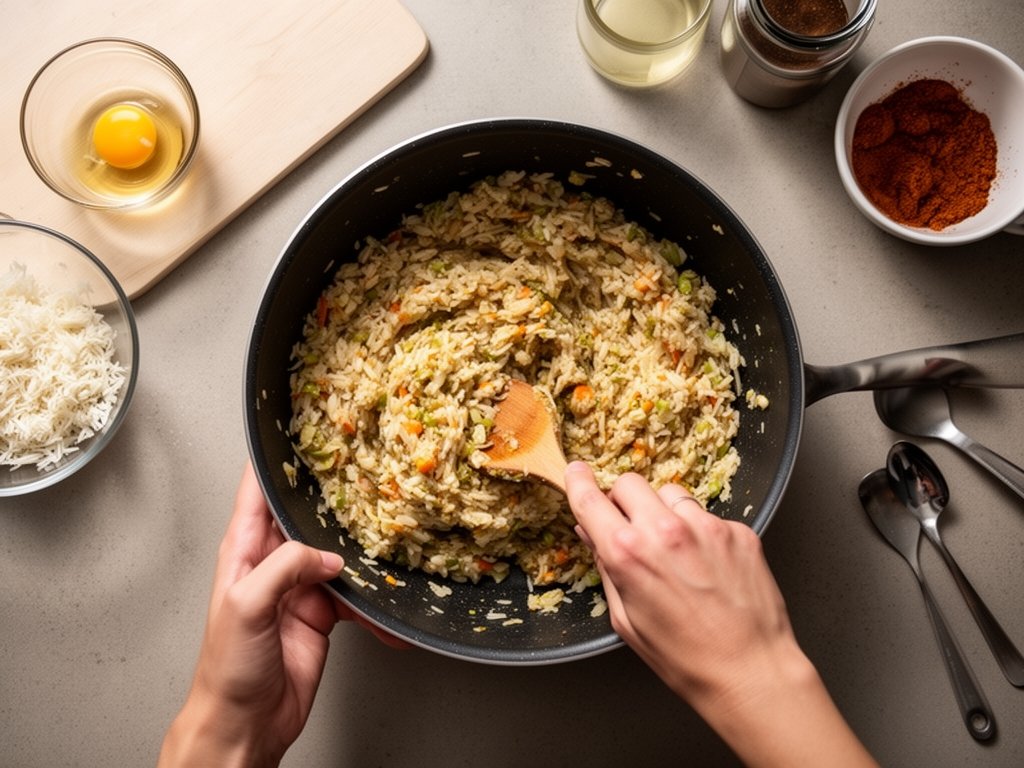
Mastering crispy waffles starts with technique, drawing from Belgian waffles inspiration but simplified. Separate eggs for airy lift, rest batter for tenderness, and preheat your iron hot. These steps ensure even cooking and that coveted crunch. Patience pays off—follow closely for restaurant-worthy results every time.
1. Preheat your waffle iron to the highest setting. This ensures the batter hits intense heat immediately, creating steam for lift and a crispy shell. Brush plates lightly with melted butter to prevent sticking—about 1 teaspoon total. Hot iron means shorter cook times and better texture.
2. In a large bowl, whisk dry ingredients: 2 cups flour, 1/2 cup cornstarch, 3 tbsp sugar, 1 tbsp baking powder, 1/2 tsp baking soda, and 1/2 tsp salt. Cornstarch is crucial for crispiness—don’t skip it. Whisk vigorously for 1 minute to aerate and distribute leaveners evenly, avoiding clumps later.
3. In a separate bowl, combine wet ingredients minus egg whites: milk, vegetable oil, melted butter (cooled slightly), egg yolks, and vanilla. Whisk until smooth, about 30 seconds. Adding milk to hot butter tempers it, preventing cooked eggs. This mixture should be pourable and glossy.
4. Make a well in the dry ingredients and pour in the wet mixture. Stir gently with a wooden spoon until just combined—lumps are okay! Overmixing toughens waffles. The batter will be thick but pourable; let it sit 5 minutes to hydrate flour.
5. In a clean bowl, beat egg whites with a hand mixer on medium-high until stiff peaks form, 2-3 minutes. Peaks should hold shape when lifted—test by stopping mixer. This adds volume for fluffy interiors contrasting crispy outsides.
6. Gently fold egg whites into batter in three additions using a spatula. Use a figure-8 motion, folding until streaks barely remain—about 10 folds total. Batter should be light and airy now, with small bubbles. Overfolding deflates it, so be delicate.
7. Let batter rest 30 minutes at room temperature. This step, inspired by pro techniques, thickens it via starch hydration and relaxes gluten for tenderness. Cover loosely to prevent drying. Use this time to tidy up or prep toppings.
8. Ladle 1/2-3/4 cup batter per waffle onto the center of the hot iron (adjust for your model’s size). Spread slightly if needed, but don’t overfill—batter expands. Close lid firmly; cook 4-6 minutes until deep golden and steam slows.
9. Remove waffles with tongs or fork to a cooling rack. Prop upright to stay crisp—stacking steams them soft. Repeat with remaining batter, re-brushing iron lightly between batches. Keep finished ones warm in a 200°F oven if needed.
10. Serve immediately for peak crispiness. These waffles shine plain or topped. Total yield: 6-8, depending on iron. Enjoy the satisfying crunch!
11. For extra Belgian waffles-style pockets, use a deep iron and slightly more batter. Monitor first batch to dial in timing—color guides doneness over clock.
12. Clean iron while warm with a damp cloth—never submerge. This preserves non-stick surface for future crispy batches.
Nutritional Information
These crispy waffles pack balanced nutrition from whole ingredients. Flour and cornstarch provide carbs for energy, while eggs and dairy offer protein for satiety. Vegetable oil and butter deliver healthy fats supporting heart health.
Vitamins shine here: milk brings calcium and vitamin D for bones, eggs add B12 and choline for brain function. Potassium from milk aids muscle recovery post-workout. At about 300 calories per serving, they’re indulgent yet moderate.
Antioxidants from vanilla and minimal processing keep it wholesome. Pair with fruit for fiber boost. These waffles fuel active days without heaviness.
Per Serving (1 waffle, serves 8):
– Calories: 320
– Total Fat: 16g (20% DV)
– Saturated Fat: 6g (30% DV)
– Cholesterol: 75mg (25% DV)
– Sodium: 450mg (20% DV)
– Total Carbohydrates: 38g (14% DV)
– Dietary Fiber: 1g (4% DV)
– Sugars: 7g
– Protein: 7g (14% DV)
– Vitamin D: 15% DV, Calcium: 20% DV, Iron: 10% DV
Serving Suggestions & Variations
Elevate crispy waffles with seasonal berries and Greek yogurt for a protein-packed breakfast parfait. Dust with powdered sugar and add lemon zest for brightness—pairs perfectly with herbal tea.
Try savory: top with smoked salmon, cream cheese, and dill for brunch elegance. Or go chocolatey with melted dark chocolate and hazelnuts, mimicking dessert waffles. These hold up to hearty fillings thanks to their crunch.
Variations:
– Summer Twist: Fresh peaches, basil, and whipped cream.
– Fall Flavor: Cinnamon apples and cheddar slices.
– Vegan Swap: Plant milk, flax eggs, coconut oil.
– Gluten-Free: 1:1 blend, extra rest time.
Cooking alternative: Bake in a hot oven on a sheet for waffle “fries.” These Belgian waffles-inspired riffs keep things exciting year-round.
Expert Tips & Tricks for Crispy Waffles
Unlock pro-level crispy waffles with these insider secrets. Resting batter isn’t optional—it transforms texture dramatically.
1. Measure Flour Properly: Spoon into cup and level—don’t scoop, or you’ll pack too much, yielding dense waffles. For precision, weigh 260g flour. This ensures light, airy results every batch.
2. Egg White Mastery: Beat to stiff but not dry peaks; shiny and holding shape is ideal. Fold gently to retain air bubbles, creating that fluffy-crispy contrast pros love.
3. Iron Temperature Hack: High heat caramelizes sugars fast. Test with a drop of water—it should sizzle and evaporate instantly. Lower heat leads to soggy centers.
4. Batter Consistency: Should mound slightly on a spoon but pour easily. If too thick, add milk 1 tbsp at a time. Perfect flow prevents uneven cooking.
5. Butter the Iron Sparingly: Excess pools and smokes; a thin brush layer crisps edges without grease. Reserve some melted butter for brushing finished waffles.
6. Rest for Tenderness: 30 minutes minimum lets starches absorb liquid, softening crumb. Overnight in fridge works too—flavors deepen.
7. Cooling Rack Essential: Air circulation keeps crisp post-cook. Upright leaning prevents steaming. Oven at 200°F maintains without softening.
8. Sugar Timing: Add at end if remixing—promotes browning. Brown sugar variation adds chew and molasses notes.
9. Scale Up Smart: Double recipe? Mix in batches to avoid overmixing. Freeze extras flat on tray first. These tips guarantee crispy waffles success.
Common Mistakes to Avoid
Overmixing batter activates gluten, making waffles tough. Solution: Stir until flour disappears, lumps okay. 10-15 strokes max preserves tenderness.
Undermixing leaves flour pockets, causing uneven crisp. Whisk dry first, combine gently. Taste batter edge for salt balance.
Cold ingredients clump butter, leading to greasy spots. Room temp everything—microwave milk 10 seconds if rushed.
Low iron heat steams instead of crisps, yielding pale, soft waffles. Crank to max, preheat 10 minutes. Steam stop signals doneness.
Overfilling iron causes overflow and undercooked middles. Use 3/4 full max; let expand naturally for even pockets.
Skipping rest results in chewy texture. Wait 30 minutes—gluten relaxes, batter thickens for ideal pour and rise.
Ignoring egg whites deflates potential fluff. Beat separately, fold last. This step mimics Belgian waffles lift.
Stacking hot waffles traps steam, softening crisp. Cool on rack upright. Reheat singly if needed.
Storage & Reheating Instructions
Store leftover crispy waffles properly to maintain snap. Room temp in airtight container lasts 1 day; beyond, refrigerate.
Fridge: Layer with parchment in zip-top bag up to 3 days. Crisp reheats well, avoiding sogginess.
Freezer: Cool fully, then freeze flat on tray 1 hour before bagging. Up to 3 months—perfect for batch prep.
Reheating Methods:
– Toaster/Oven: 350°F, 3-5 minutes on rack. Restores crunch best.
– Skillet: Medium heat, 1-2 minutes per side, lid off.
– Microwave: Last resort, 20 seconds, but crisps less.
Food safety: Thaw overnight in fridge. Discard if off-smell or mold. These tips keep waffles fresh-tasting.
Conclusion
These crispy waffles are a game-changer—simple, versatile, and downright addictive. That perfect crunch with fluffy heart makes every bite memorable, whether breakfast or dessert.
You’ve got all the tools now for cafe-quality results at home. Whip up a batch this weekend and watch smiles spread. Share your twists—what’s your favorite topping?
Tag me in your crispy waffle creations; can’t wait to see them!
FAQs
Can I make crispy waffles ahead for a crowd?
Yes! Prep batter night before, rest overnight in fridge. Cook fresh in morning—stays bubbly. Freeze cooked extras; reheat in oven for crisp revival. Scales easily to 12+ servings.
What if I don’t have cornstarch for waffles?
Substitute equal potato starch or arrowroot for similar crisp. Rice flour works too (1/4 cup less). Avoid skipping—it tenderizes while crisping exteriors naturally.
How do I get extra crispy waffles like Belgian style?
Use deeper iron, high heat, and brush with oil pre-pour. Rest batter longer (45 min). Belgian waffles technique of whipped whites amps airiness.
Are these waffles freezer-friendly long-term?
Absolutely—up to 3 months. Portion single servings, thaw on counter 30 min, reheat toaster-style. Retains 90% crisp; better than store-bought frozen varieties.
Can I add flavors to the batter?
Stir in cinnamon (1 tsp), lemon zest, or almond extract post-rest. For chocolate waffles, fold 1/4 cup cocoa + extra milk. Keeps texture intact.
Why are my waffles sticking to the iron?
Not enough preheat or butter. Brush generously first batch, wipe excess. Non-stick spray alternative. Clean residue between cooks for flawless release.
How to make dairy-free crispy waffles?
Swap milk for almond/oat, butter for coconut oil. Same ratios—batter rests fine. Golden results without compromise.
What’s the best way to serve waffles for kids?
Cut into sticks, dip in yogurt or fruit puree. Add sprinkles to batter for fun. Keeps waffles exciting and mess-free.
Troubleshooting flat waffles?
Check leaveners’ freshness—test baking powder in hot water (bubbles?). Don’t overmix; ensure stiff egg whites. Fresh iron heat fixes most issues.
Can I bake these as pancakes instead?
Yes, thin batter slightly, cook on griddle 2 min per side. Loses some crisp but gains speed. Top same way for variety.